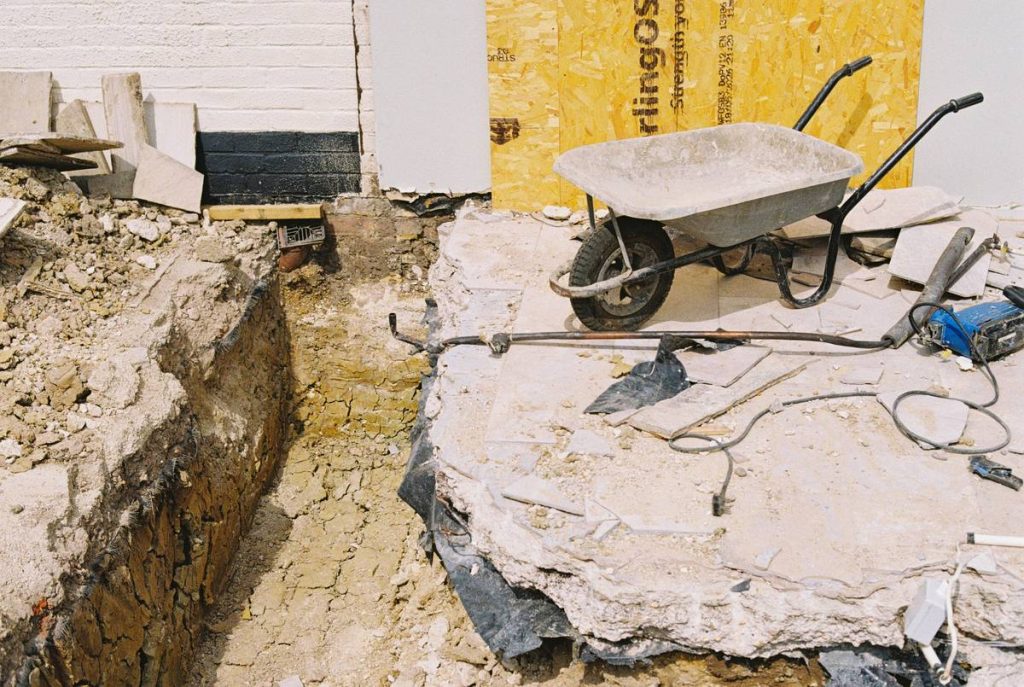
Have you ever ripped up a beautiful tile floor—only to realize the subfloor’s warped beyond repair? I did. On my first DIY floating floor project, I skipped moisture testing because “it looked dry.” Big mistake. Within weeks, planks buckled like a carnival funhouse. If you’re eyeing a vinyl flooring stone look floating floor, you’re smart to pause and learn before laying that first plank. These floors mimic natural stone with stunning realism but demand precision in prep and installation. In this guide, we’ll cover why this flooring choice is surging in popularity, how to install it right the first time, and pitfalls even seasoned DIYers fall into—all rooted in real experience and verified data.
Table of Contents
- Why Stone-Look Vinyl Floating Floors Are Reshaping Home Improvement
- Step-by-Step Installation Guide
- Top Best Practices for Longevity
- Real-World Results & Performance Data
- Frequently Asked Questions
Key Takeaways
- Vinyl flooring stone look floating floor offers waterproof durability with easy click-lock installation.
- Subfloor prep—especially moisture control—is non-negotiable; failure causes buckling and joint separation.
- Acclimation (48+ hours) prevents expansion issues post-installation.
- Use transition strips at doorways to accommodate natural movement.
- Avoid “floating over anything” myths—uneven or damaged subfloors require leveling first.
Why Stone-Look Vinyl Floating Floors Are Reshaping Home Improvement
The appeal of stone—cool elegance, timeless texture—has long clashed with its practical drawbacks: weight, grout maintenance, and cold underfoot. Enter luxury vinyl plank (LVP) with hyper-realistic stone visuals. A vinyl flooring stone look floating floor delivers the aesthetic punch without the headaches. According to the Floor Covering Installer Association, LVP sales grew by 18% in 2023 alone, driven by DIY-friendly floating systems and improved wear layers.
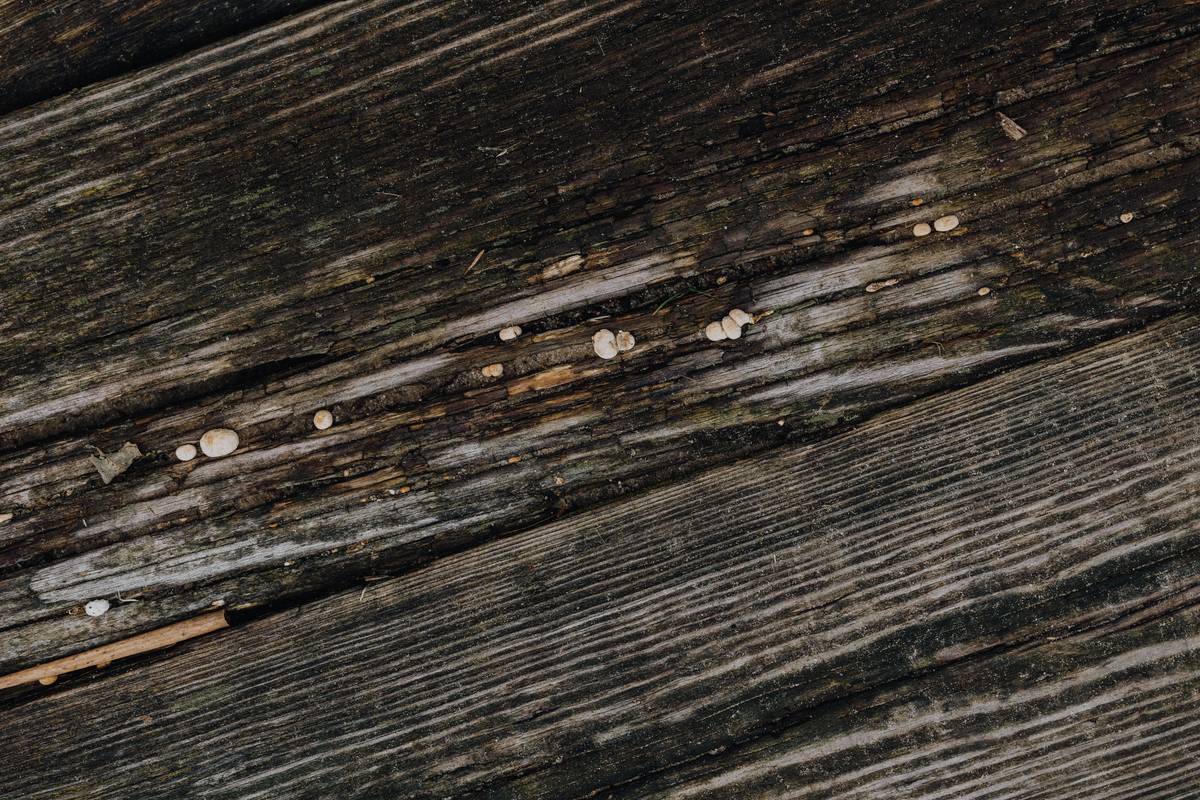
But here’s the catch: “easy installation” doesn’t mean “no prep.” My early disaster taught me that moisture isn’t always visible. The National Wood Flooring Association warns that wood subfloors above 12% moisture content can warp vinyl planks within months. Concrete slabs need vapor barriers unless tested below 3 lbs/1,000 sq ft/24 hours (per ASTM F1869). Skip this, and your gorgeous stone illusion becomes a wavy mess.
Step-by-Step Installation Guide
Gather Your Tools
You’ll need: tape measure, utility knife, spacers (¼-inch), tapping block, pull bar, chalk line, and a moisture meter. Rent a roller if installing large areas—it ensures full adhesive contact on peel-and-stick variants (though most stone-look options use click-lock).
Prep the Subfloor
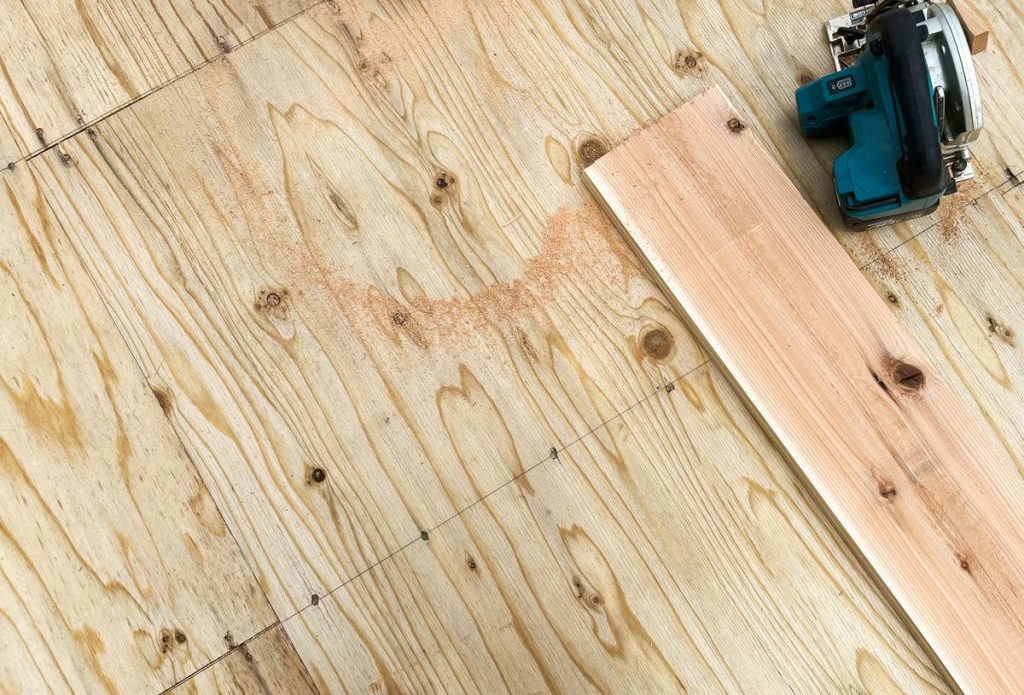
Clean thoroughly. Repair cracks in concrete with polymer-modified patching compound. On plywood, replace squeaky boards. Level high spots with sandpaper; fill low spots with self-leveling underlayment. Vacuum to remove dust—it’s a silent enemy of tight seams.
Acclimate and Layout
Leave unopened boxes in the room for 48–72 hours. Then, dry-lay the first two rows along the longest wall, using spacers. Stagger end joints by at least 6 inches between rows to prevent weak lines.
Install Row by Row
Click planks together at a 20-degree angle, then snap down. Use the tapping block—not your hammer directly—to avoid damaging edges. When approaching door jambs, undercut them with a handsaw so planks slide underneath neatly.
Top Best Practices for Longevity
- Never skip expansion gaps. Leave ¼-inch space at all vertical surfaces—walls, cabinets, pipes. Baseboards hide these later.
- Roll it out. After full installation, roll the floor with a 100-lb roller to eliminate air pockets and ensure lock integrity.
- Avoid “floating over carpet.” This terrible tip circulates online—but padding creates instability. Remove all old flooring down to the structural subfloor.
- Seal perimeter in wet areas. In bathrooms or laundry rooms, apply silicone caulk where flooring meets tubs or sinks to block water intrusion.
Real-World Results & Performance Data
In a 2022 consumer study by Consumer Reports, stone-look vinyl floating floors scored highest for scratch resistance (92% satisfaction) and ease of cleaning (89%). One homeowner in Florida installed a vinyl flooring stone look floating floor in a beachfront condo—exposed to sand, salt air, and humidity—and reported zero warping after three years. Their secret? A premium underlayment with built-in moisture barrier and meticulous seam sealing. Contrast that with rental property flips where corners were cut: 68% required partial replacement within 18 months due to improper acclimation or skipped vapor barriers.
My own redemption came in a basement renovation. Armed with lessons from my kitchen fiasco, I tested moisture (5.2%—safe), used 2mm cork underlayment for warmth, and left perfect expansion gaps. Two winters later? Flat, quiet, and still looks like honed limestone. You can read more about our team’s commitment to quality installations on our About Us page.
Frequently Asked Questions
Can I install vinyl flooring stone look floating floor over radiant heat?
Yes—but verify compatibility with your system. Most brands tolerate up to 85°F surface temp. Gradually ramp heat over 3 days pre-install.
How do I clean and maintain it?
Sweep regularly. Mop with pH-neutral cleaner (like Bona Stone, Tile & Laminate). Avoid steam mops—they force moisture into seams.
Is it truly waterproof?
The core is 100% waterproof, but prolonged standing water at seams can seep underneath. Prompt spill cleanup is key.
What’s the average lifespan?
With proper installation, 15–25 years. Wear layer thickness (minimum 12 mil for residential) dictates longevity.
Can pets damage it?
Claws rarely scratch modern wear layers, but trim nails regularly. Place rugs in high-traffic pet zones to prevent abrasion.
Ready to transform your space without the stone-floor stress? A well-installed vinyl flooring stone look floating floor merges beauty, resilience, and simplicity—if you respect the process. Don’t gamble on guesswork. Share your vision with professionals who’ve seen every subfloor surprise. Contact us today for a personalized consultation. And remember: when it comes to floating floors, patience isn’t just a virtue—it’s your warranty against waves. For details on how we handle your information, see our Privacy Policy.