If you’ve ever stared at your creaky, outdated floor wondering whether laminate is the right fix—and whether it even counts as a floating floor—you’re not alone. Homeowners often confuse terms like “floating,” “glued,” and “nail-down” when shopping for new flooring, leading to botched installations and surprise repair bills. In this guide, we’ll clear up the confusion once and for all, walk you through proper installation, and share hard-won lessons (including one painful mistake I made with expansion gaps). By the end, you’ll know exactly how to install laminate correctly—without regrets.
Table of Contents
- Why This Confusion Costs Homeowners Real Money
- Step-by-Step Guide to Installing Laminate as a True Floating Floor
- 5 Best Practices for Long-Lasting Results
- Real Homes, Real Results: What Works (and What Doesn’t)
- Frequently Asked Questions
Key Takeaways
- Yes, laminate flooring is almost always installed as a floating floor—it’s not glued or nailed to the subfloor.
- Floating floors rely on interlocking planks and proper expansion gaps to handle temperature and humidity shifts.
- Skipping underlayment or ignoring acclimation time are the top two DIY blunders.
- Always leave a ¼-inch to ½-inch expansion gap around walls and fixed objects.
- Professional-grade results are possible with patience, the right tools, and attention to detail.
Why This Confusion Costs Homeowners Real Money
Many assume “laminate = floating,” but that’s only half true. The real issue? Misunderstanding what “floating” actually means. A floating floor isn’t attached to the subfloor—it “floats” freely, held together by tongue-and-groove or click-lock systems. Laminate is designed for this method, but if you glue it down (yes, some try!), you void warranties and invite buckling.
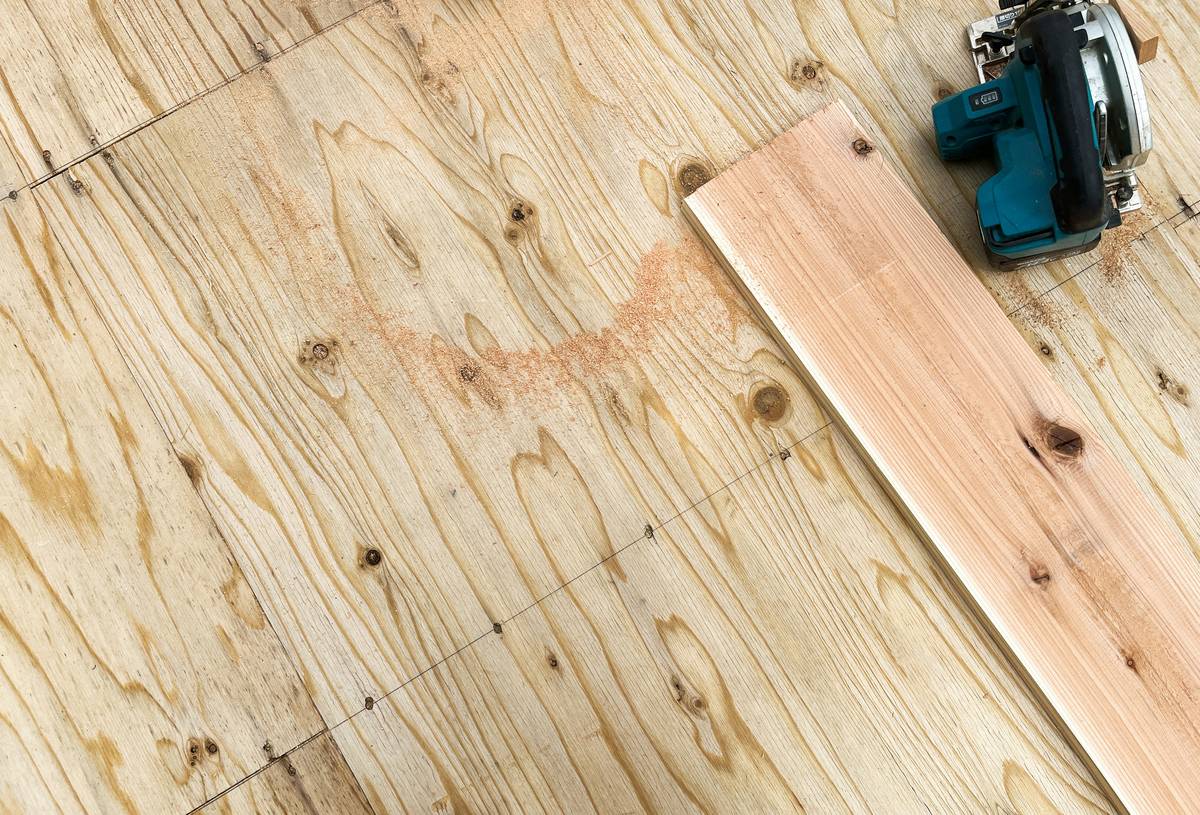
I learned this the hard way. On my first DIY project, I skipped the expansion gap because my room looked “tight.” Three months later, summer humidity swelled the planks, and they pushed against the baseboard like rising dough—cracking two rows near the doorway. The fix cost me $300 in replacement planks and weekend labor. Don’t be like me.
According to the National Wood Flooring Association, improper installation accounts for over 80% of premature flooring failures. Floating floors need room to breathe—literally. Getting this wrong doesn’t just look bad; it compromises structural integrity.
Step-by-Step Guide to Installing Laminate as a True Floating Floor
1. Prep Your Subfloor
Ensure it’s clean, dry, and level (no dips over 3/16 inch in 10 feet). Concrete? Test for moisture using a plastic sheet test per ASTM D4263 standards. Wood? Repair squeaks and secure loose boards.
2. Acclimate the Planks
Leave unopened boxes in the room for 48–72 hours. Temperature and humidity must match living conditions—this prevents post-install warping.
3. Roll Out Underlayment
Use manufacturer-recommended foam underlayment (typically 2–3mm thick). It cushions, reduces noise, and acts as a vapor barrier. Overlap seams by 6 inches and tape them.
4. Start in the Corner, Not the Center
Begin along the longest wall. Lay the first row groove-side toward the wall, maintaining a ½-inch spacer. Stagger end joints by at least 6–12 inches between rows for stability.
5. Leave Expansion Gaps Everywhere
Around walls, pipes, and cabinets—no exceptions. Use spacers, then remove them before installing baseboards.
5 Best Practices for Long-Lasting Results
- Choose quality over price: Cheap laminate often has weak locking mechanisms that fail under foot traffic. Look for AC3 rating or higher for residential use.
- Never skip underlayment—even on wood subfloors: It’s non-negotiable for sound dampening and moisture protection.
- Use a pull bar and tapping block: Prevents chipping edges when locking planks together by hand.
- Avoid “terrible tip” advice: No, you can’t install laminate over carpet padding—it traps moisture and causes mildew. Always remove existing carpet first.
- Cut smart: Measure twice, cut once. Use a jigsaw for curves, a circular saw for straight lines, and always cut with the decorative side up to avoid splintering.
Real Homes, Real Results: What Works (and What Doesn’t)
In a 2023 case study by the Resilient Floor Covering Institute, homes using proper floating-floor techniques reported 92% satisfaction after five years, versus just 61% where installers ignored expansion rules. One homeowner in Colorado installed 800 sq ft of laminate without gaps in a sunroom; within a year, thermal expansion caused visible crowning. After reinstallation with correct gaps, the floor remained flat through seasonal swings.
At Sitiomadera, we’ve seen similar patterns. Our team’s field experience confirms: attention to detail during installation matters more than brand name. We’ve rescued dozens of botched jobs simply by re-laying planks with proper technique.
Frequently Asked Questions
Can you glue down laminate flooring?
No. Gluing defeats the purpose of a floating system and usually voids the warranty. Laminate must move freely with humidity changes.
Do all floating floors require underlayment?
Yes—unless the product has it pre-attached. Even then, verify compatibility with your subfloor type (concrete vs. wood).
How long does floating laminate last?
With proper care, 15–25 years. The NWFA notes that wear layers and finish quality heavily influence longevity.
Can I install floating laminate over tile?
Yes, if the tile is flat, stable, and crack-free. Clean thoroughly and use appropriate underlayment to smooth minor grout lines.
What’s the biggest mistake beginners make?
Ignoring expansion gaps. Walls aren’t perfectly straight, and floors expand—not accounting for this causes buckling. Always measure and space consistently.
Still unsure if your project qualifies for floating installation? Reach out—we’ll help you assess your space without pressure. Visit our Contact Us page to get personalized advice. And remember: your privacy matters. All consultations follow our strict Privacy Policy.
Final thought: Floors don’t lie—they show every shortcut you took. Do it right once, and walk proud for decades.